Guide to Keeping Track of Business Receipts
Keeping track of your business receipts can be a pain in the butt, but we’ve got the solution to help you 'sit' comfortably with your finances.
This article will give you practical, actionable tips on how to easily and quickly manage your business receipts.
Or, check out the video below if you'd rather hear Joe explain it 👇
The good news is, managing your receipts doesn't have to be a nightmare. Gone are the days of rummaging through shoe boxes full of crumpled paper.
We're in the digital age, my friends!
We'll dive into keeping organized with Google Drive, automating things using a software platform called Dext, and we’ll also discuss some options that come built-in with your accounting software.
Each has its advantages and drawbacks, so buckle up and let's hit the road to smarter receipt management.
But first, let’s talk a bit about why we’re keeping our receipts in the first place.
Understanding CRA's Record Keeping Requirements
The Canada Revenue Agency (CRA) lays out specific rules for how businesses should maintain their records and store receipts. Understanding these requirements is vital for avoiding headaches down the line.
Businesses are required to keep all necessary records and supporting documents that determine their tax obligations for a period of six years from the end of the last tax year to which they relate.
Stated simply, you should make sure you keep your records and receipts organized and accessible for at least seven years.
Failure to maintain adequate records can mean that your expense claims are disallowed, potentially costing you additional tax plus penalties and interest.
As for the format, CRA is not overly picky. They accept documents in both physical and electronic formats.
For digital records, they must be readable, reliable and capable of being reproduced in accessible and usable copy in case CRA comes knocking on your door to review your books.
When CRA Knocks On Your Door
In cases where the CRA reviews your expenses or conducts an audit, they could request a variety of documents.
These can include:
- Sales invoices and contracts - the CRA could request to see these to verify your reported revenue.
- Purchase invoices and expense receipts - these help the CRA confirm the expenses you’ve claimed. This could include receipts for office supplies, travel costs, and even meal expenses.
- Bank statements - these provide an overview of your cash flow and could help verify both income and expenses.
- Payroll records - if you have employees, the CRA may want to see payroll records to ensure proper remittances of source deductions.
- GST/HST records - for businesses collecting GST/HST, the CRA would want to see documents supporting the amounts collected and remitted.
The key to successfully navigating a CRA review or audit is to maintain thorough, accurate and accessible records.
Keep all supporting documents that back up your income and expense claims, and stay organized so you can quickly provide any requested information.
And that’s exactly what we’re about to show you how to do using some handy, digital methods.
Use Google Drive to Organize Photos of Receipts
First stop: Google Drive.
Picture this - no more heaps of paper, just a neat virtual space holding all of your precious receipts.
Google Drive is a great option if you’re doing your bookkeeping using a spreadsheet or some other more manual method. Check out our article for a tutorial of our very handy and popular bookkeeping template for Google Sheets.
Here’s how Google Drive as a receipt management system works.
Step 1 - Take a snap of your receipt with your phone.
Just make sure that you capture the entire receipt in the photo.
It doesn’t need to be zoomed in, either. Most phones these days have cameras that will easily capture the fine print from three feet away.
If your receipt has multiple pages, it’s best to separate them out and lay them down on a flat surface and take a single photo of all pages at once.
Step 2 Hop on to Google Drive
Next up you’re going to some folders organized within your Google Drive
And here's the magic trick: create folders for each month.
Name them something like "January Receipts", "February Receipts", and so on.
Step 3: Upload the Photo to Google Drive
Upload the photo of your receipt into the folder for the month you made the purchase.
This way, all of your January receipts are in one place, all of your February receipts in another, and so on.
So simple!
Step 4 - Name Your Receipt (Optional)
Next up we recommend that you give your receipt image a helpful name.
You can Include the date and the supplier that you made the purchase from. For example, "2023-06-28 Office Depot". This makes searching for specific receipts much faster.
Alternatively, if you don’t have a lot of receipts each month, it’s pretty easy to just use the date stamp on the upload or default image name to search for your purchase.
Step 5: Take a Breather and Give Yourself a Pat on the Back
Boom - you’re organized!
Using Google Drive to organize your receipts is a pretty simple system that anyone can use.
Pros: Google Drive is user-friendly and it doesn't cost a dime for the basic plan! Your files are tucked away safely and you can peek at them from any gadget with internet.
Cons: You’ve gotta put in the effort to upload and potentially name each receipt and maintain your folders. But hey, a tidy virtual receipt bin can be worth a few small steps!
Level-up Your Receipt Management with Dext
Now, let's switch gears and look at a tool that takes receipt management up a notch with a platform called Dext (formerly known as Receipt Bank).
Here’s where we truly say goodbye to shoeboxes and hello to secure, electronic storage.
Dext is a specialized application that's all about making receipt management a breeze for business owners.
How does it work? Let's break it down.
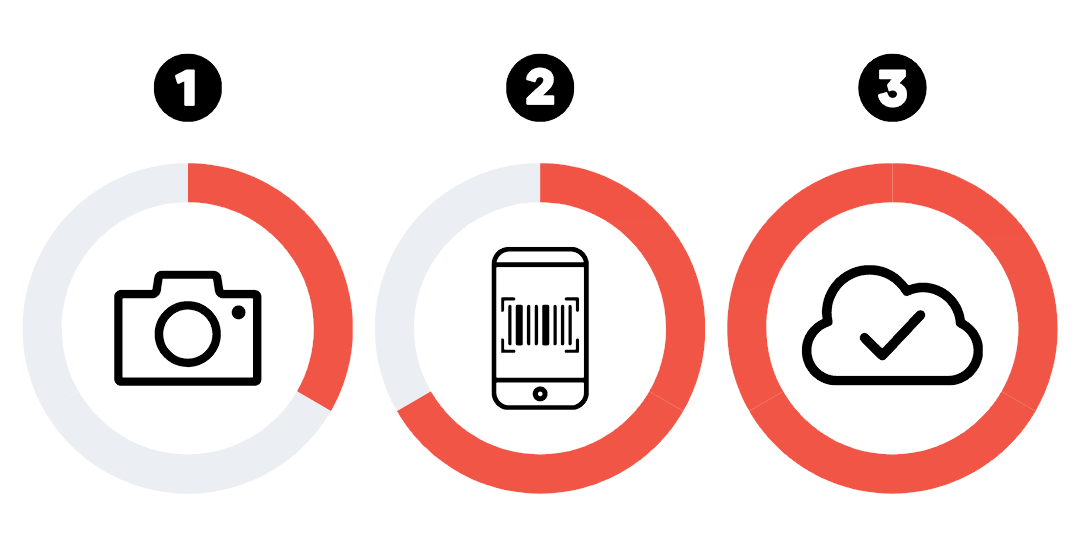
Step 1 - Take a Photo Using Your Dext App
Say you've just bought some office supplies.
Great, all you have to do is whip out your phone, take a picture of your receipt using the Dext App and it will be uploaded to the cloud for secure storage and some other magic.
Step 2 - Dext Automates Data Extraction
Here comes the magic: Dext uses a smart feature called optical character recognition (OCR) to read your receipt. No more squinting at fine print or manual data entry.
Dext extracts the essential details, including:
- Date of purchase
- Where the purchase was made (supplier name)
- Amount of purchase
- Sales tax paid
- Currency of the purchase, if visible on the receipt
This all gets stored in the cloud within your Dext account. You’ll see a list of your receipts and all the extracted data nicely summarized into your Dext inbox.
Step 3 - Connect Dext to Your Bookkeeping Software
Next up you’ll publish receipts from Dext into your Bookkeeping software (like Xero) and watch your financial life become incredibly streamlined.
The expenses get automatically entered into your bookkeeping system, including the expense category, total amount, sales tax amount and even a copy of the receipt image.
Why We Love Dext
We're not just accountants, we're also fans of making lives easier - yours and ours.
Dext helps us do just that.
- Claim every expense - say goodbye to lost paperwork. With Dext, you can claim every expense and shrink your tax bill.
- Eliminate data entry - OCR does the hard work for you, saving you time and protecting you from errors.
- Store documents securely - no more paper mess. Your receipts are securely stored online, ready for you whenever you need them.
- Effortless expense reports - Need to get reimbursed? Dext's expense reports make it a breeze.
We use Dext for our own bookkeeping and for all of our bookkeeping clients.
Pros: Dext is an all-in-one solution that streamlines receipt management, eliminates data entry, and integrates with bookkeeping software. It's secure and efficient.
Cons: Dext comes with a monthly cost, starting around $27 per month for the basic plan, so you need to factor that into your decision.
For more info, check out our full article on why we love Dext.
Use Your Accounting Software's Built-In Receipt Management
Finally, let's talk about a solution that might already be at your fingertips: your accounting software.

If you're using QuickBooks Online (QBO), Xero, Freshbooks, or any number of other accounting applications, you're in luck! These platforms offer built-in receipt management functionality.
Let's see how this works.
Step 1 - Take a Photo Using Your Accounting Software App
Snap a picture of your receipt using the mobile app provided by your accounting software. Remember to capture all the details clearly!
Step 2 - Enter Your Receipt Details
Next you’ll need to manually enter the relevant information from the receipt into the software.
While this might not be as automated as the OCR feature in Dext, it not only stores your receipt, but enters the purchase into your books.
Step 3 - Complete Your Bookkeeping
Your digital receipt now rests comfortably with your accounting records and you can reconcile the receipt with the line item on your bank or credit card feed.
Why Use Accounting Software for Receipt Management?
We believe in making the most out of the tools you already have. Here are some perks of using your accounting software for receipt management:
- Built-in functionality - you're already using the software for your bookkeeping needs. Why not use it for receipt management too?
- Everything in one place - keeping your receipts together with your accounting records streamlines your financial management process. Neat and tidy!
- Cost-effective - Yes, these tools come with a cost. But if you're already subscribed to the software, why not maximize its use?
Pros: Receipt management within accounting software gives you a convenient, unified solution. It uses a platform you're already familiar with, keeps your records in one place, and makes the most of your subscription cost.
Cons: Unlike Dext, these tools don't have OCR for automatic data entry from your receipts. You'll have to put in some manual work, but it's a small trade-off for having everything in one place.
Accounting Software Plus Dext
Ok, so we said three options, but we’re going to add a fourth because it gives you the best of all worlds when it comes to bookkeeping and receipt management.
And it’s the exact way that we do our own bookkeeping and the bookkeeping for all of our clients as well.
You’ll capture receipts with Dext and then streamline your bookkeeping by connecting Dext to Xero for a much more automated bookkeeping experience.
Learn to Automate Your Bookkeeping with Xero and Dext
We even have an online course that teaches you how to use Xero and Dext in combination to dial in your small business bookkeeping.
Check out our Modern Bookkeeping for Small Businesses Course if you want to save yourself some time and truly get your books in order.
Wrapping Up
Navigating business receipts doesn't need to be overwhelming. We've discussed various strategies to help streamline the process:
- Google Drive - a user-friendly and cost-effective tool ideal for those comfortable with manual methods and looking to keep things simple.
- Dext - a specialized application that automates data extraction with OCR, ideal for those who prioritize time-efficiency and are ready for a small investment.
- Your accounting software - utilizing built-in receipt management features of your existing software can provide a convenient all-in-one solution.
- Dext + Xero - Combining Dext with your Xero offers a highly integrated, efficient solution that blends automation with unified record keeping.
Each option has its pros and cons. The choice depends on your business requirements, budget, and preference for automation.
Whichever you choose, remember this golden rule - consistency is key. A system only works if you use it regularly.
Don't let your receipts become a shoebox nightmare. With consistency and the right digital tools, you can transform receipt management from a daunting task to a streamlined, efficient process.


